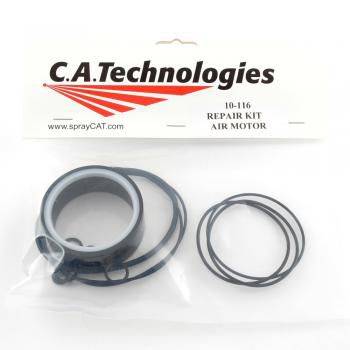


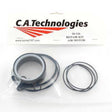
C.A. Technologies Repair Kit -- Air Motor (10-116)
Regular price
Unit price
/
Unavailable
Shipping calculated at checkout.
C.A. Technologies Repair Kit -- Air Motor (10-116)
Regular price
Unit price
/
Unavailable
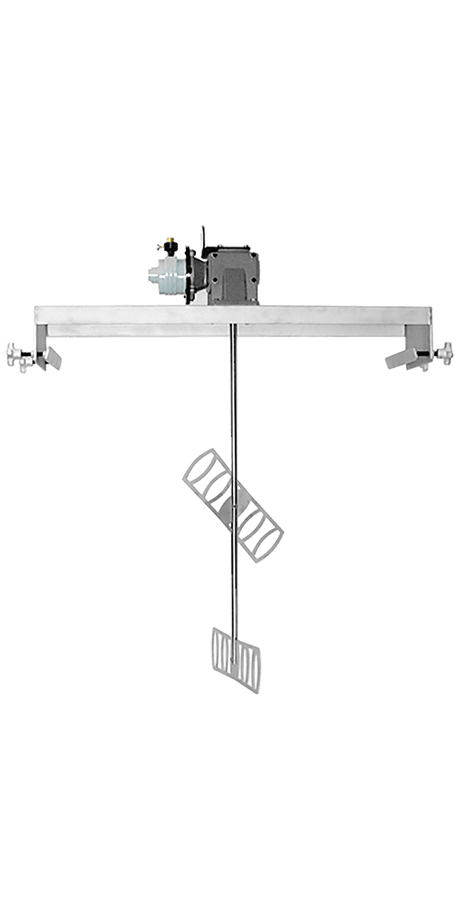
C.A. Technologies Repair Kit -- Air Motor (10-116)
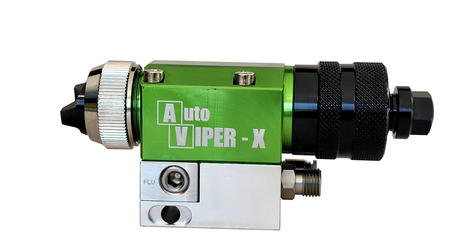
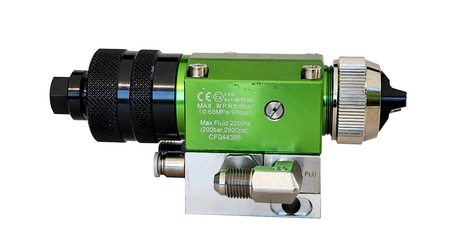
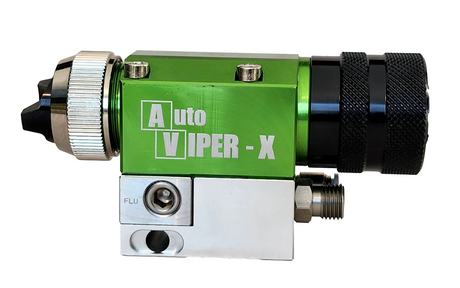
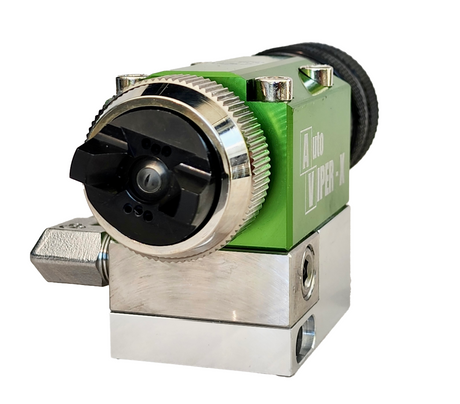
Manufacturer: C.A. Technologies
Part Number: 10-116
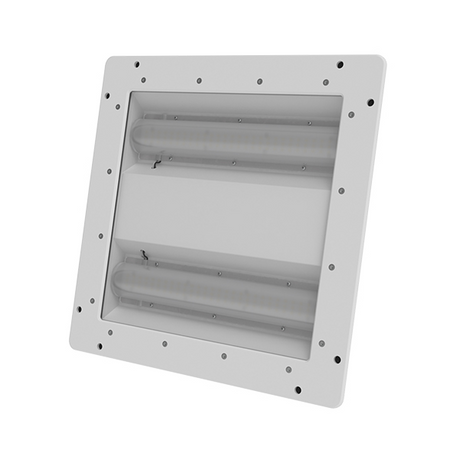
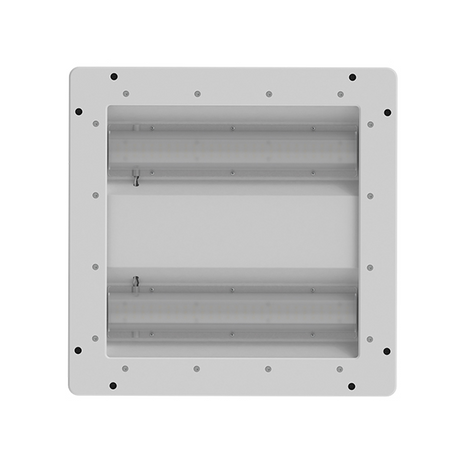
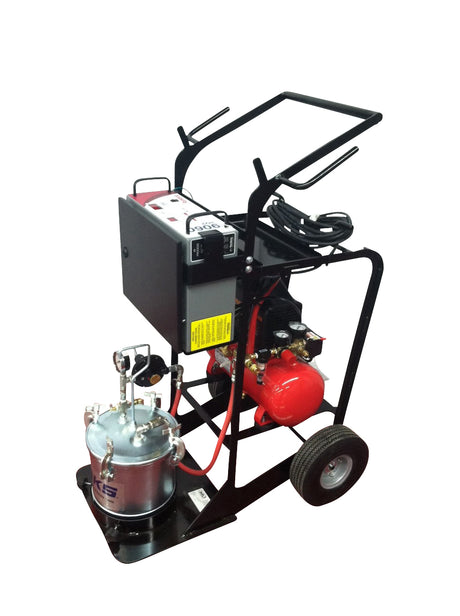
Description: C.A. Technologies OEM air motor repair kit.
For C14, B14 14:1 and CATalyzer 2 Component air-assisted airless.
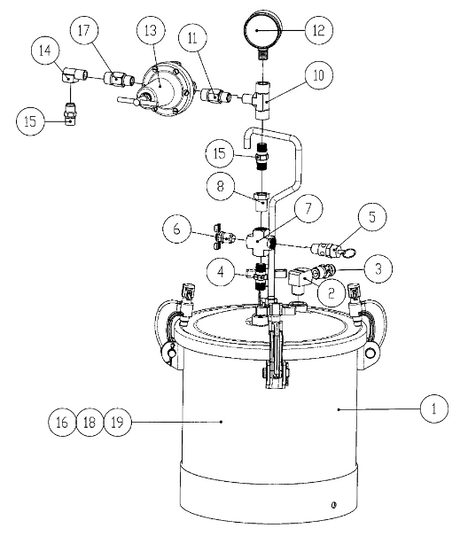
Replacing the air motor rod seal/guide assembly. The main air motor rod seal/guide assembly can be replaced without major disassembly of the air motor.
- Push the air motor rod up as high as possible.
- Using a 7/16 wrench, remove the three hex head bolts and remove the seal retainer plate. The exposed end of the guide has a groove. Using two screwdrivers, engage the groove and pry the seal/guide assembly out.
- Lubricate o-ring (98-7035) and the new seal/guide assembly with petroleum jelly. Insert over air motor rod and into gland cavity. Caution! Use care not to damage seal lips.
- Replace the retainer plate and three retainer plate screws.
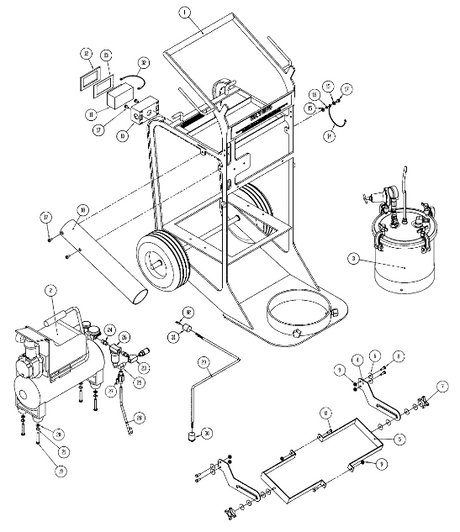
Complete air motor disassembly. It is recommended that repair kit # 10-116 be on hand before starting pump repair.
- Remove the air motor cover using a 1/4 hex wrench.
- Remove the four Allen head bolts (98-0197).
- Remove the exhaust cap, valve plate, and exhaust spacer.
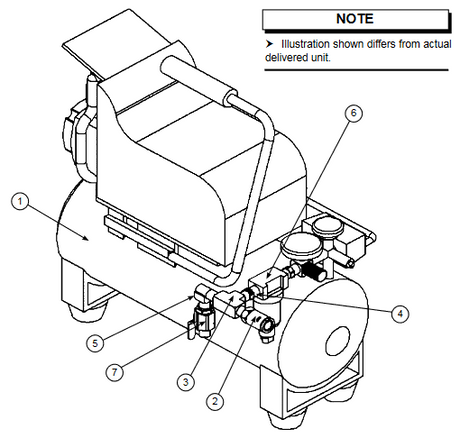
- Push the air motor rod to the up position. Lift up on locknut (98-0196) until a flat on the trip rod is exposed just outside the top cylinder head. Using a 1/4 open-end wrench on the trip rod and a second 1/4 wrench on the locknut, remove the locknut.
- Continue holding the trip rod and unscrew the magnet assembly. Remove the spacer and servo piston. Note: Wrap the magnet assembly in a clean paper towel as it will attract any nearby magnetic debris.
- Using a 1/2 wrench, remove the four hex head bolt holding retaining the cylinder head. Remove the cylinder head, cylinder, and transfer tube.
- Push the air motor rod out of the motor base. Using a 5/8 open-end wrench on the air motor rod and a 1 1/4 wrench, remove the piston retainer. The trip rod and trip springs can be removed for inspection.
- See instructions above for removal and replacement of the seal/guide assembly in the motor base.
- Reassemble air motor in reverse order. Lubricate all o-rings using petroleum jelly during reassembly.
Payment & Security
Payment methods
Your payment information is processed securely. We do not store credit card details nor have access to your credit card information.